Plan cycling routes anywhere in the world, and customize your adventure. Our Advanced Route Planning tools give you powerful options to edit your routes: split and combine, add custom cues, turn rides into routes, plot POI along the way, and so much more. View estimated time, and use heatmaps to build your perfect route.
_____________________________________________________________________
Download the Ride with GPS mobile app
_____________________________________________________________________
Access your routes through the Ride with GPS mobile app, and get turn-by-turn voice navigation as you ride. Advanced Route Planning tools and voice navigation are both unlocked with a Premium membership.
Explore the Advanced Route Planning Tools
Estimated time
Easily see your estimated time as you plan your route. Each time you add a new control point to the route, your estimated time will update. The estimated time feature uses your saved ride history to give you personalized information.
Version History
When editing your own routes, access previous versions directly from the Route Planner. Click the three-dot menu next to your route name> Version History. Previous versions will be listed in the right side panel. We also have more information about working with Version History here.
Heatmaps
View your Personal Heatmaps to see where you've ridden or planned routes; view the Global Heatmap to see where the world has ridden. Use this data to find a new route, or see what's popular.
Advanced Map Layers
Premium subscribers have access to additional map layers, to help plan around current conditions on the ground such as wind, snowpack, cell coverage, or gnarly air quality, and you can learn more about available Map Layers here.
Note: the Unpaved Cycling and Wind layers are available worldwide. NOAA Air Quality, NOAA Snow Depth, and US Cell Coverage are available in the USA and parts of North America.
Edit Route Menu
Custom Cues
To add a custom cue: click on the Custom Cue icon, then choose where along your route you'd like to receive a cue.
Custom cues can be added to your route to include more information about a particular cue or give specific details about an area. Any text you specify in the Notes section will be announced along your ride as part of our app's voice navigation. The Description section will be displayed on the cuesheet.
Pro-tip: Add custom cues AFTER your route line is finalized. Any subsequent route changes that are made can unintentionally remove custom cues.
Points of Interest (POI)
To add a POI to the map: click on the Custom POI icon, and then click anywhere on the map. Choose an icon, and then add a name, details, and photos. You can move a POI once it has been placed by clicking and dragging it to a new location.
These handy, custom map icons let you pinpoint locations like snack or coffee stops, beautiful vistas, campsites, and more. Learn more about working with POI.
Note: Adding a POI places a custom icon on your map, but it does not add a spoken alert to the cuesheet. You'll need to add a custom cue in addition to a POI if you want your POI to be announced, or you can add your POI as a Waypoint on your route to get a cue entry for that Waypoint location.
To add a Waypoint on your route line: click on the Custom POI icon and then click directly on your route line. Waypoints function as POI icons, control points, and custom cues all at once. Waypoints will be specifically included on your route line while POI can be placed anywhere on the map.
Learn more about the differences between POI and Waypoints.
Route Tools
Duplicate
Add a second copy of the route you are working with to the route planner. Make adjustments to the duplicate copy without affecting the original. Save each route individually to have multiple versions.
Split Route
The Split Route tool allows you to take a longer route and split it into as many smaller routes as you want without affecting the original route. The new routes will include the POI from the original route within 3 miles (5km) of the track line. This is great for those longer multi-day tours you want to split into individual days or tiers. Find out more about the Split Route tool here.
Trace
Using the Trace tool, you can automatically add a cuesheet to an activity or route. Use the manual trace to manually trace your route or to make alterations to the traced copy. View more information about the auto-trace and manual trace tools here.
Selection Tools
In order to use Selection Tools, you'll first need to make a selection along your route line. There are a few different ways to do this:
- Click and drag along the elevation profile to select a portion of route.
- Right click along the route line and select Start Selection to begin your selection, and then right click and select End Selection to mark the end.
-
Drag a rectangular box on the map by holding the Option key and dragging on the map.
- Note: On a Windows computer, use the Alt key instead of Option.
- Lasso a free form selection on the map by holding Option+Shift and dragging to create a free form selection.
Once you've made a selection, fine tune it by clicking and dragging the blue sidebars. The Selection Tools will appear in the right side panel.
Need to clear your selection and try again? Click Deselect or use the Esc key to clear your selection and hide the Selection Tools panel.
Delete Selection
Use the Delete Selection tool to remove the selected route line and metrics from the route you are editing. You can also press the Delete or Backspace key to delete the selected portion of your route.
Pro-tip: Deleting a section from the middle of a route will split the route into two routes. Each route will be listed near the top of the left panel.
Flatten Elevation
Use Flatten Elevation to even things out. This tool will remove elevation data in the selection and will draw a straight line between the two points on either side of the elevation profile where it meets the selection.
Change Color
While editing a route, you can change the color of the route line to differentiate one part of your route from the rest of the route. This is especially useful for highlighting busy roads, tough climbs, segments you want to call out, or anything significant about the route.
Remove Control Points
Clear Control Points from an area to make edits to larger sections of your route. Clearing control points does not affect the size of the route when exported, and has no impact on waypoints.
Pro-tip: Control Points help lock your route into place while editing the route line.
Exclude from Metrics
This tool allows you to exclude part of the metrics for your route while you retain your metrics data for the overall route. It's great for those times when you have to take a ferry, bus, or subway as part of your planned route.
Crop
Delete everything outside of the selection with the Crop tool. This tool deletes the start and end of a route at the same time, retaining only the selected portion of the route.
Change Surface
Manually adjust the surface type that appears on your route. Note that this will only affect this route, and will not update underlying surface type data. To edit this data, changes to OpenStreetMap are required. Check out our help article about contributing to OpenStreetMap here: OSM Map Data.
Duplicate Selection
Create a new route with your selection. You can also easily do this by pressing CMD+D once you've made a selection (or CTRL+D on a Windows device).
Add More Routes
You can work with multiple routes open at a time. With the first route open in the planner, you can duplicate it to make tweaks to the copy or import a completely different route to reference. You can also start planning a brand new route with your original in the planner.
Each route name will be shown on the left side panel, with the active route highlighted in blue. Click another route name to make it the active route. The active route will be shown in red on top of the map, and the others will be shown in gray.
Click the three-dot menu next to a route name to reveal additional route options.
Pro Tip: Rearrange routes in the left side panel by clicking and dragging.
Import
Search our public activities and routes database, along with your personal items to quickly add a route or activity to the route planner. Find routes from Ambassadors, clubs, events, or other users.
- Click the Import button at the top of the left side panel.
- Click each ride or activity you want to import; each selection will get a check mark.
- Then click Add to Planner.
Use the Search field or filter icon to narrow the results.
You can also upload .tcx, .gpx, .fit, or .kml files from your computer directly into the route planner using the upload file icon to the right of the search field.
Add New
Click Add New at the top of the left panel to deselect your first route and start a fresh route on the same map.
The route you were editing will turn from red to gray indicating it is inactive. Click to add the start point for your new route, and plan as usual. You can add as many routes to a single map as you want.
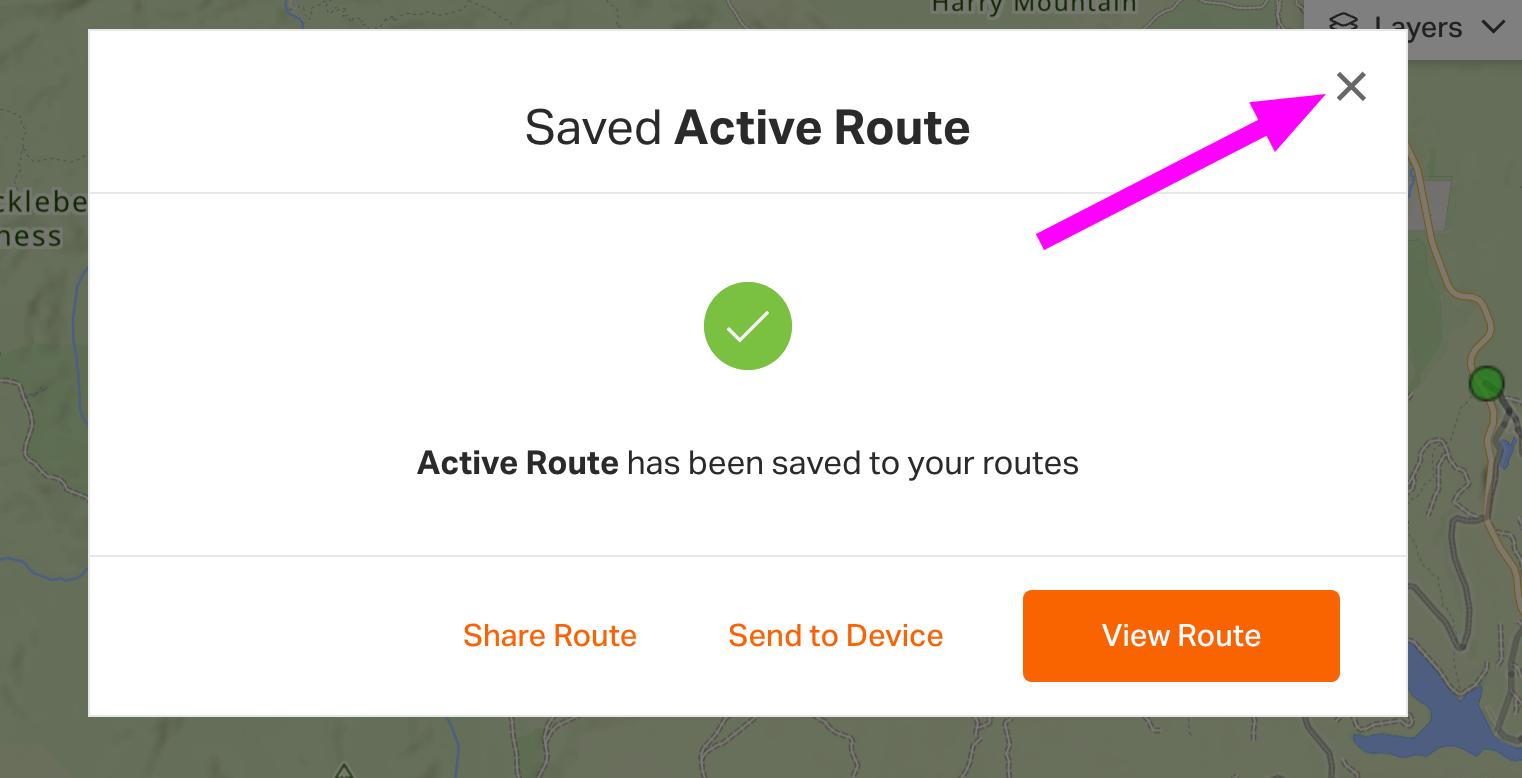
Pro-tip: When saving multiple routes, use the ‘X’ to clear the confirmation screen and return to the Route Planner to save your other routes.
Pro-tip: Create an alternate starting point for a route with the Add New tool. Combine the new route addition to an existing route in the planner by clicking the green dot.
Inspect and Explore
Right click on your map to access Inspect Routes Here and Explore Nearby Route. Use these tools in the Route Planner to search for existing routes and activities, preview existing tracks on your map, and add additional route lines to your Route Planner.
Inspect Routes Here lets you search for existing routes and activities that pass through or near your right click. We have more information about using Inspect Routes Here in this tutorial.
Use Explore Nearby Routes to search for existing routes and activities whose start points are near your right click. We have an in-depth tutorial about using Explore Nearby Routes here.
Cue Review
The Cue Review Tool is the fastest and easiest way to make sure your cuesheet is just how you want it. The review will walk you through each cue so you can ensure its accuracy and make any changes or corrections you'd like. You can even add in custom cues and POIs during the process.
The Cue Review tool can be found at the bottom of the left side panel, just above the Save button. Try it out by clicking Review Cues on your next route. Learn out more about the Cue Review tool here.
Advanced Route Planning features are unlocked with a Premium subscription.
Related to